Monday, June 1, 2015

Reinforcement of the lower control arms frame mounting point


After removing all the control arms for replacement, I discovered the mounting points on the frame were in need of reinforcement. 


Here we go again... well I'm almost done, got both sides fabricated and one side welded on.  Let me tell you it was no fun.  I used 1/8" metal, thanks to a friend who donated a nice piece for me to play with.

First, I made a pattern with cardboard and cut out the piece with a jigsaw.


Next, I need another 2 pieces that will provide further welding points to the frame.


Welded those in place


The holes you see are for spot welding.   Further welding was done after all was assembled and fitted.


By heating the metal with an oxy/acetylene torch, at the mig welding points, it was easier to weld.  Obviously if you have an expensive machine, you probably would skip this step, although I would say it helps a lot.


After some further welding and grinding, everything looks so much better.


This was what I was doing before I finally decided to remove the control arms.


I will post some more pictures once I'm done.  I'm in the process of welding the other frame reinforcement, and then fabricating the trunk floor along with some spots on the wheel hubs.

Thursday, February 7, 2013

Looking for 1976 B-Body Pontiac Parisienne Body Mount Bushings

If anyone has any information on how I can get a set of these body mount bushings, please share!  They have the cone insert as well.  If anyone has the exact dimensions, it would be great too.

I don't know why everyone forgot about these cars, it's as if some GM history library was burned to the ground and all the information was gone, before anyone was able to reproduce parts for these cars.  It would be so much easier to click and add part to cart, instead of hoping something similar may fit.


This is what I know.


The gm part numbers needed are 457915 330992 488610 330995 494517 494909.

#6,7 (picture to come of what i have)

LOWER - 457915
UPPER - 330992

cushions are about 2 1/2" diameter. Thickness is 1 inch for upper with insert and 3/4 inch for lower or 1/2 inch.
                                                                     

#5
UPPER - 488610

#4
UPPER - 348080  (picture to come, since i have these out)

#3
UPPER - 330995

#2
LOWER - 457915
UPPER - 494909

BOLTS according to GM parts.     M10 1.5X80mm    This is grade 8.   (80mm- 31/4")
All the repro kits are grade 5, go figure.


Trunk Bushings
These all seem to have the typical 2 1/2 inch width, top bushing 1 inch, bottom, 1/2 or 3/4.
Not sure, since these seem to have been replaced when trunk was patched up.

Websites closest to having something.

Energy suspension seems to have something similar for the #6, #7 positions. Universal part # 9.4101.

Not sure if this is the right size since mine were replaced and i don't know if the ones i have on now are the original ones, but I'm sure they will do.  I will let you know when I redo the trunk floor!

http://energysuspension.com/universal-products/link-flange-type-bushings-universal-mounts-isolators.html


Has a whole slew of body bushings.  Look for BM(number).  BM stands for body mount.
http://www.oldbuickparts.com/catalog/advanced_search_result.php?keywords=bm6&sort=3a&page=2

Please contact me if you can help.
Thanks


Removing Rust using Electrolysis - videos

I viewed quite a few videos on the net regarding electrolysis, but most don't tell you how many amps you should be using for the process.

Here is one that does, which is in 3 parts.


Part 1

Part 2

Part 3

Enjoy the videos.

Friday, August 10, 2012

Why am I doing this?

We all hear it, why are you keeping this junk, it's taking up space, you will never fix it, throw it away! That's what I have endured all these years. Friends that I haven't seen in many many years, will ask, you still have that white car? I smirk. I have the patience of a donkey as the expression goes, and I am determined to prove them all wrong! One day she will again roam the streets. I started well over 15 years ago, but I never had time to work on her. At that time I was younger, and my techniques were not all that up to par, mind you the tools I had were minimal. I am redoing most of what I had already done.   This car has been with me most of my life, 36 years to be exact!, and has done many travels to the US, probably more than many Canadians!

Bertha is her name, Big Bertha. Although parts are impossible to find, I still continue on with my journey...

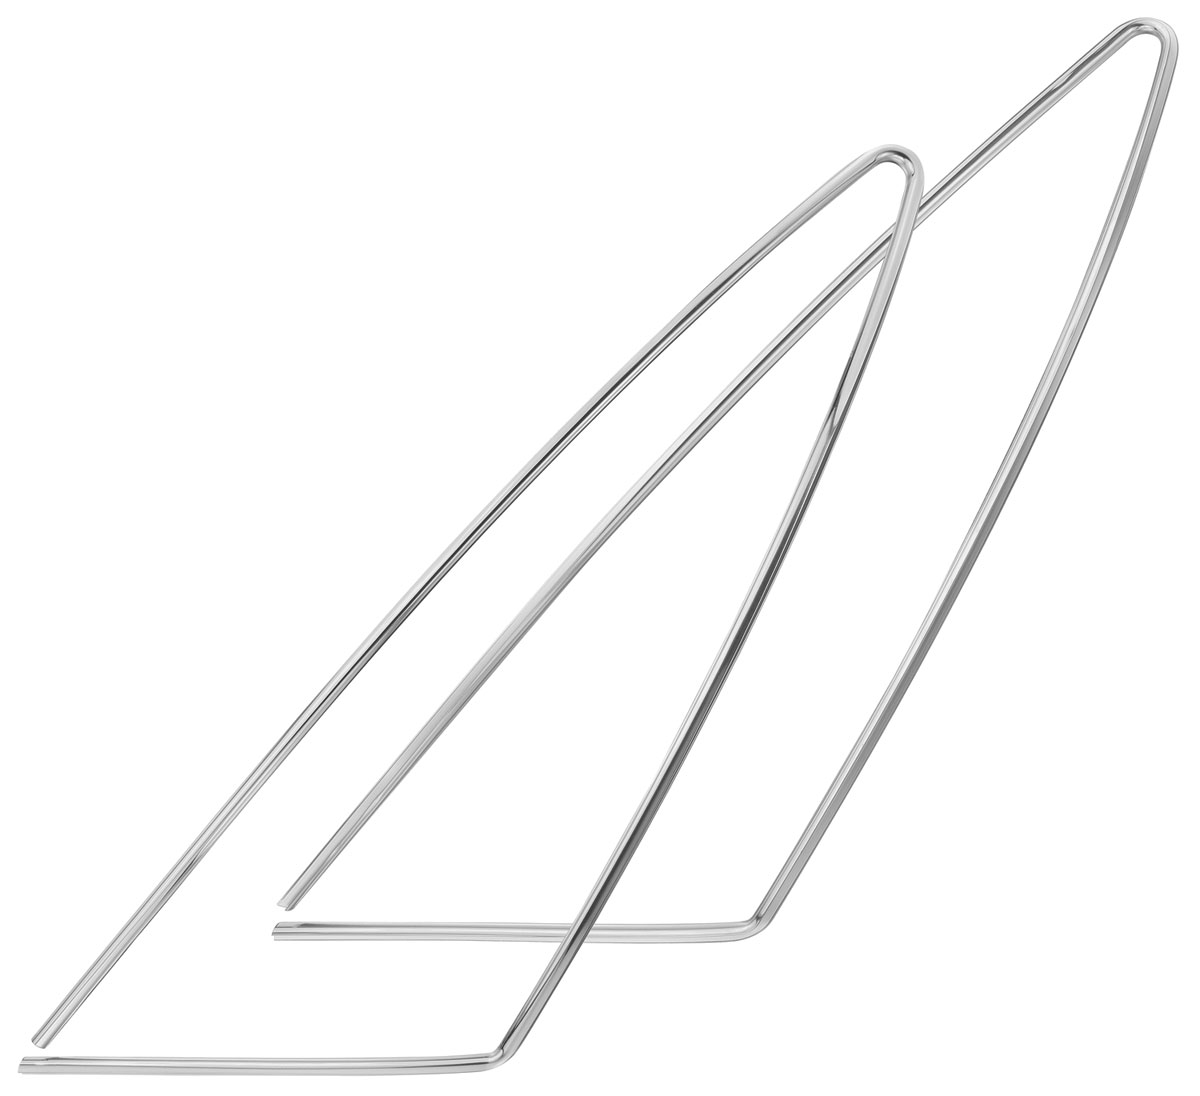
Side Rear Opera Window

The frame all around the window was severely rusted therefore I replaced both sides with one I made.


For anyone that needs the chrome plastic molding that goes around the frame for the window, I believe this would be a match.  I haven't tried it but from the looks of things it probably is a match.  Below is a 1976 cutlass 442.  The cutlass supreme did not have the triangle opera window so forget about that one.


OPGI - Original Parts Group has it!


Opera Window Moldings, 1973-77 Cutlass S & 4-4-2 - triangle (14 x 36)

  • Retail Price ........................................$196.95
  • OPGI Price ........................................$178.99
  • Quantity: 

Yes, it's in Stock!
This item is available for immediate delivery.

Part ID: CH28218Model Year: 1973-77
Sold As: PAIRPart Type: R Cutlass S & 4-4-2 - triangle (14 x 36)

Authentically reproduced moldings

Indistinguishable from original equipment

Our new opera window moldings are manufactured to original equipment specifications for an exact fit and finish on all 1973-77 models. The authentic reproductions feature molded plastic construction and brilliant chrome-plating for a showroom-fresh appearance. Sold per pair, the moldings can be used with or without Landau tops.